Friday, 30 August 2013

Classes I will be teaching

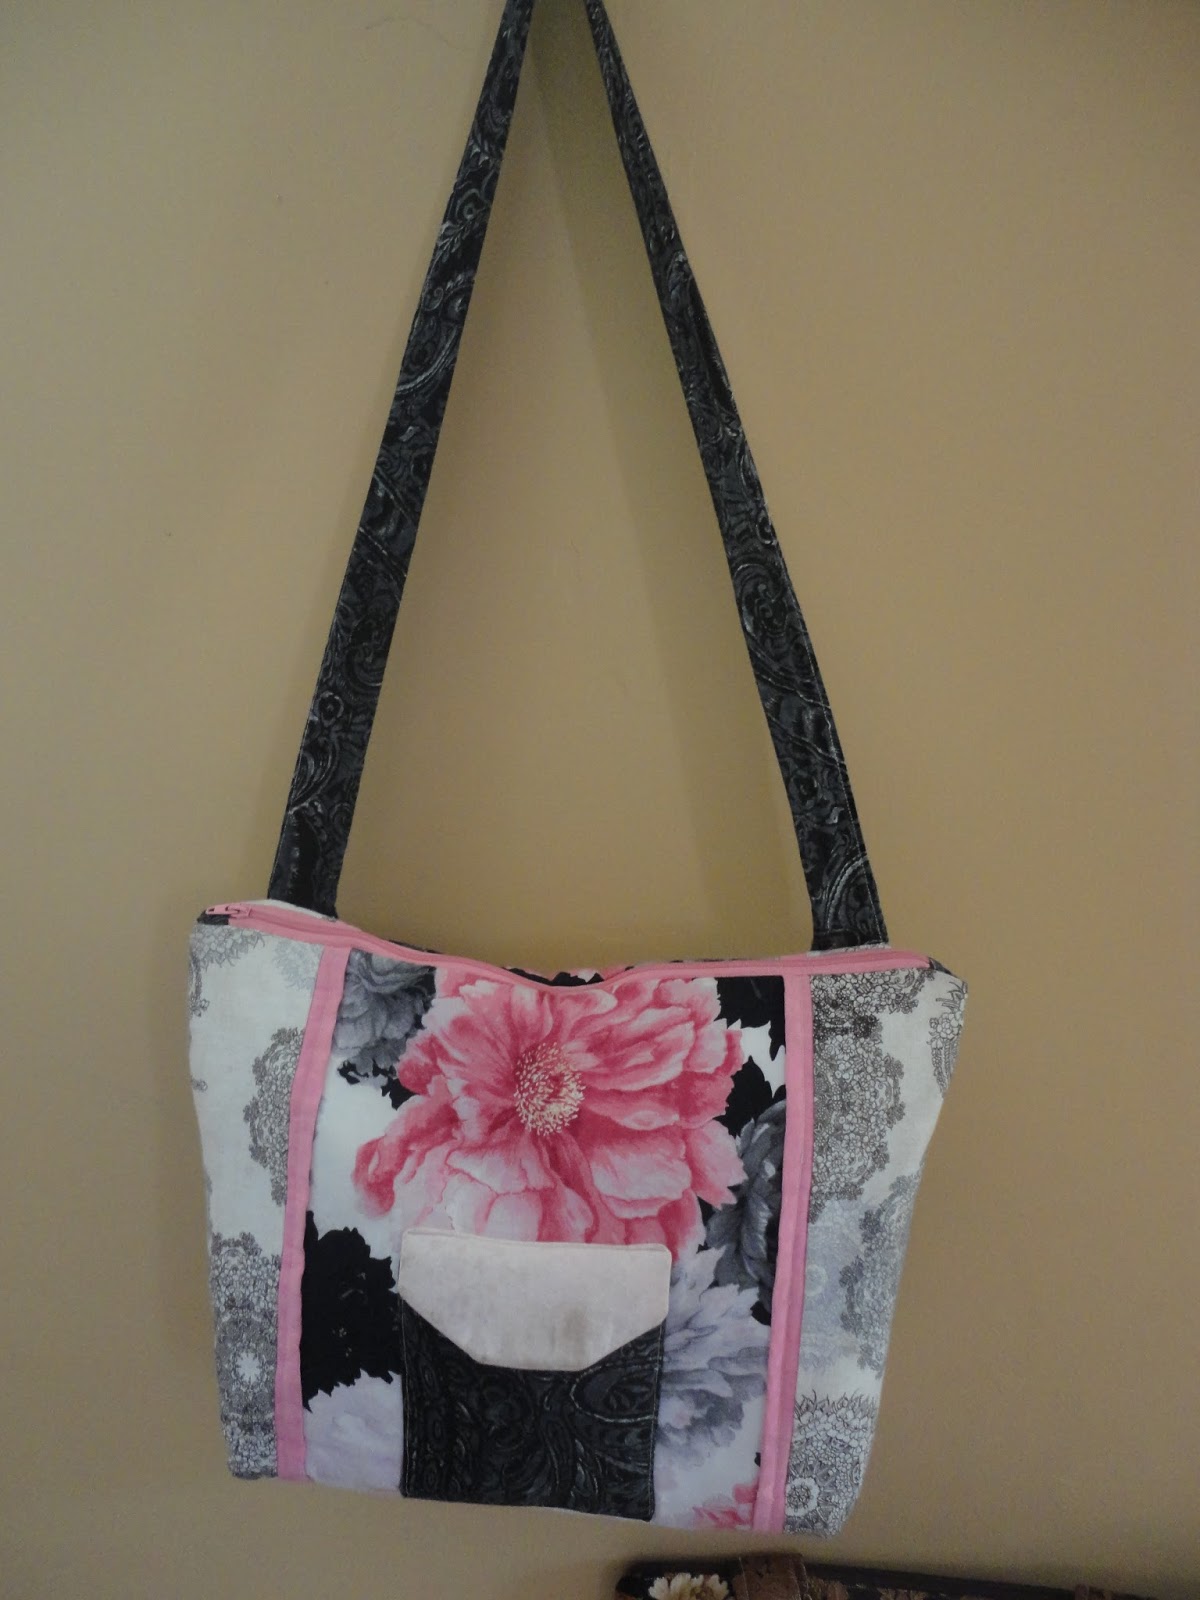
 This is the small Lindy bag I will be teaching a class on the large lindy bag at Stitch it Central in Ingersoll in September. They are having an open house Sept. 6, 7, and 8 and I will be there showing my patterns and the classes I will be teaching.
this is my Snail star pattern I will be teaching a class on this as well there is an option to make it longer so it can be used as a table runner

this is the large lindy bag its big enough to hold a laptop but stylish enough to carry anywhere. I use my pink one all the time.


Saturday, 22 June 2013

simple paper peicing tutorial

This post explains how to paper piece using the paper piecing method where you don't have to rip paper latter.

The main difference in this method as opposed to the traditional method is. That with this methodyou sew beside the fold in the paper, instead of on the line on the paper.


first you cut out your foundation and crease the paper on the sewing lines.

apply fabric safe glue to the back of the #1 spot

fold foundation line line between spot #1 and #2 attach onto the back (wrong side of fabric) of one of your precut pieces making sure there is 1/4" seam allowance along folded edge of paper.

line up next piece of fabric with glued piece making sure they are right sides together


sew along fold in paper
it will look like this

open and press

continue on in the same way with the whole foundation. if you are piecing a very large or complicated foundation you may have to use glue in a few more places or you can use flat pins if you like that better.

trim along foundation. most foundations will have a 1/4" seam allowance already marked on them, but if they don't be sure to leave a seam allowance

this is what it will look like when you are done.
 
I hope to post a curved piecing tutorial in the next few weeks this tutorial is based on a new pattern I am working on. It will be a lap size quilt.
 

Tuesday, 18 June 2013

a few quilt show pics

This is the salt box house where the tea room and my booth was in.

some pictures of my booth


The church where the main show was in I didn't get around to taking pictures till they were taking down the show so I didn't get many but here are a few at least.


lone star

anniversary quilt


some mini quilts
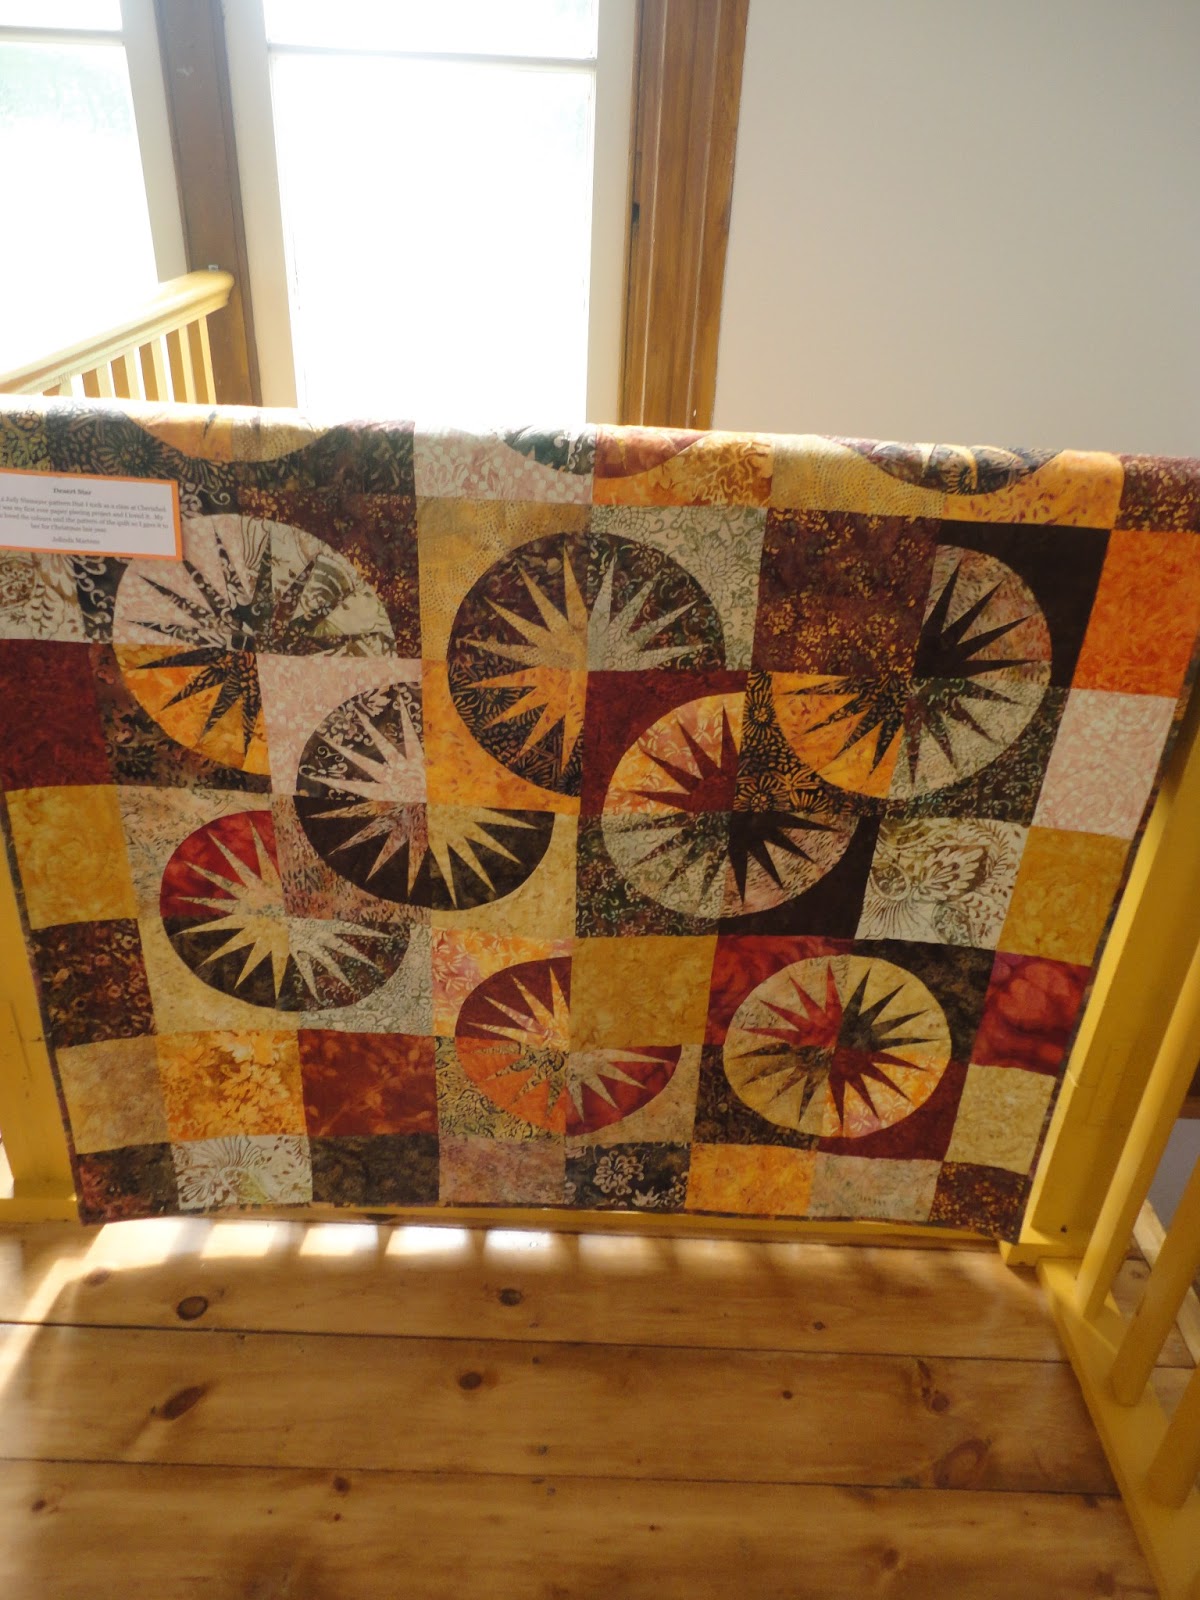
desert star


quilts from one of our members who died of cancer.

Saturday, 15 June 2013

Quilt show

The Norwich Quaker Quilt Guild is having a show this weekend, and the show is beautiful. We have a small guild but regardless of that the members have put an amazing amount of work into the show. I will be posting pictures latter today or tomorrow of the show.


This is one of my new patterns I am introducing at the Norwich show
Cherry Blossoms


This is one of the blocks from another of my new patterns "Spinning my Wheels"
 
More Pictures latter

Saturday, 20 April 2013

$10 quilt layouts

I just got the last block for my $10 quilt from Seven Sisters Quilt shop today. So I have been playing on EQ trying to find a layout I like. Here are a few I came up with. I don't know which to choose, the first one is double/queen size the others are lap/twin depending on the border size. Which ones do you like best?


Saturday, 6 April 2013

final clue


Clue 6

Putting it all together

Sashing (color #2 light) cut 24 pieces 12 ½” by 3 ½”.

Inner border cut six 1 ½ by width of fabric strips from colour #3 dark join together into one long length.

Outer border cut border parallel with selvedge. Cut 4 borders 6 1/2” wide by length of fabric (2meters).

Lay out quilt according to diagram.

Sew blocks and sashing into rows pressing rows in opposite directions to nest seams as you go.

Sew rows together press.

Measure through center of quilt, cut inner borders to fit, Sew to quilt center.

Repeat with outer borders.

Quilt and bind as desired.


Saturday, 9 March 2013


Clue 5

Cut 8 squares 2 7/8” from background fabric. Cut from corner to corner to make 16 triangles.

Cut 4 squares 9 1/4” from background cross cut into 16 triangles

Cut 4 squares 3 3/8” from med/dark color#3 fussy cut if necessary.

Lay out block as shown.

Sew small background triangles to ends of flying geese strips.

Sew 2 strips to either end of med/dark square.

Sew 2 large triangles on either side of the other flying geese units. Press and put block together.

Make four 12 ½” blocks