Wednesday 10 September 2014

Block 12 Stitch it Central BOM

Cut out templates

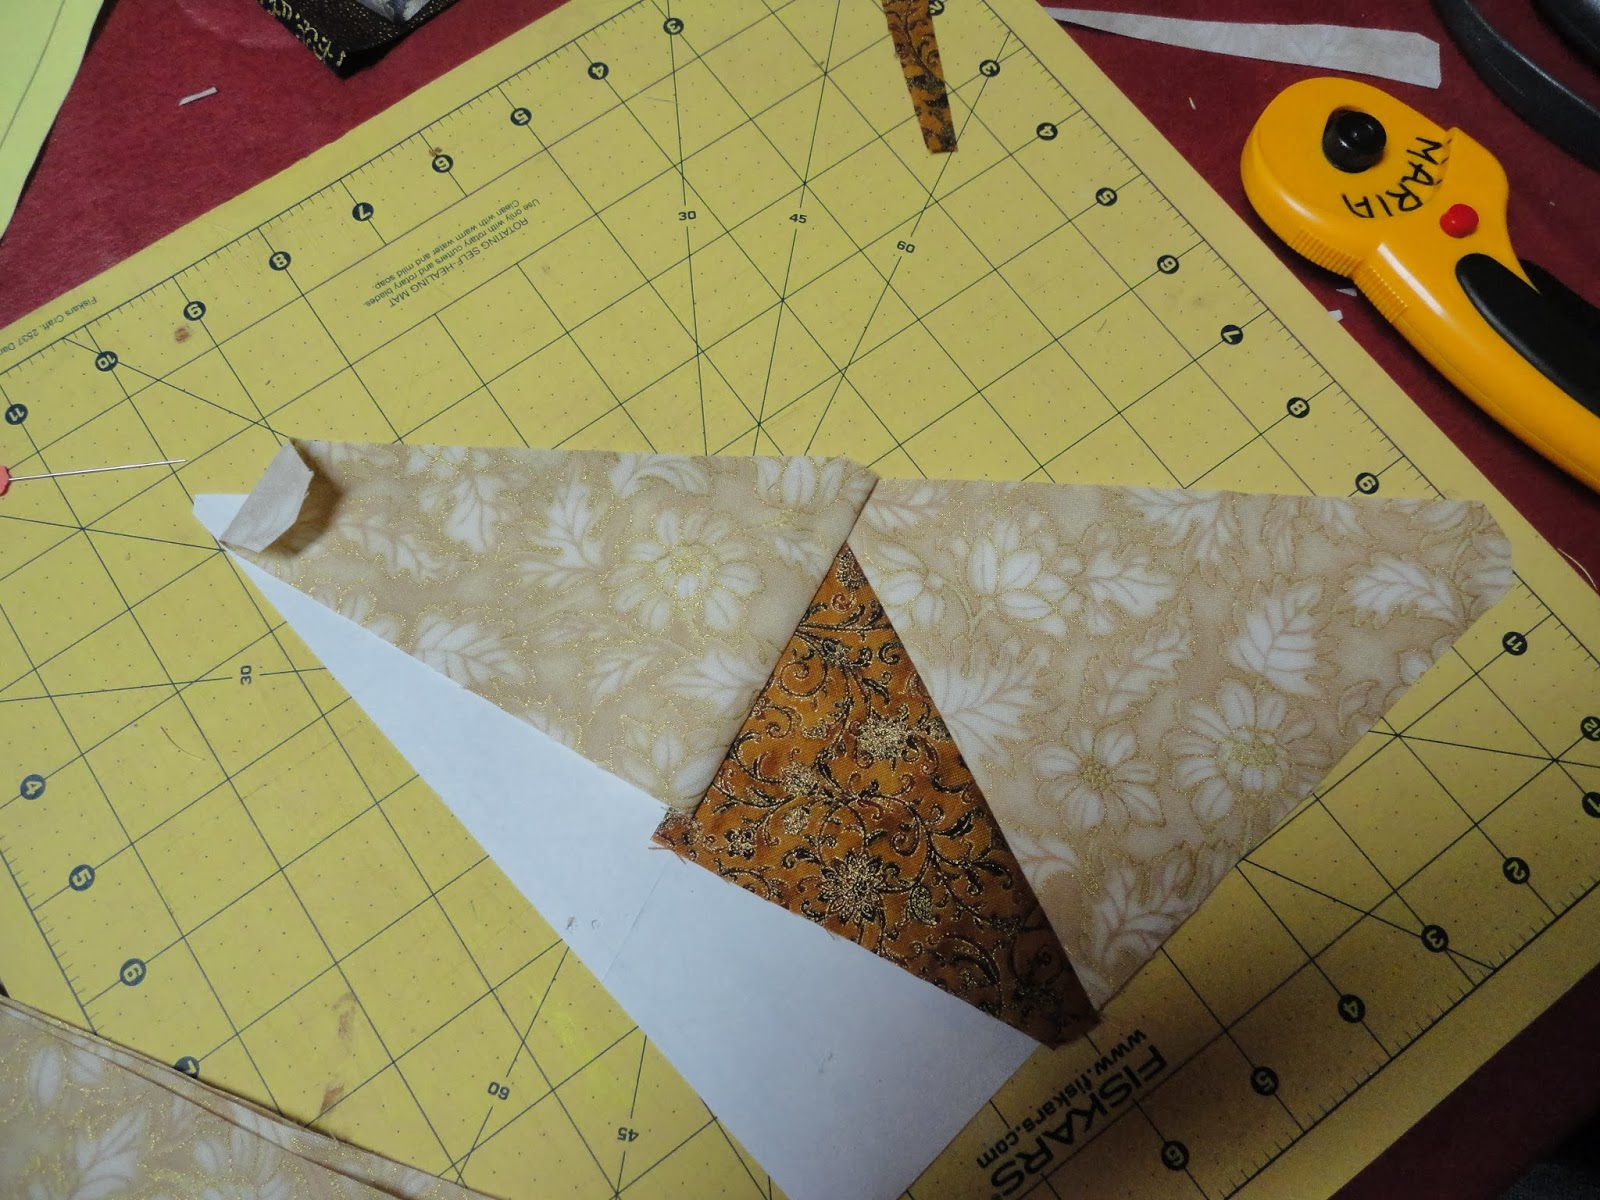
cut out piecing papers, fold on lines.

cut out fabric #1 and #2 using template D

Template D #1 and #2

fabric #3
cut out shapes using template E   WRONG SIDE UP
with fabric facing up.

Fabric #4 cut two 2 1/2" by 7 5/8" rectangles. place them right sides up and cut from top right corner to bottom left corner.

#5 cut four of template G


fabric 6 A cut four 4 1/2" by 6" rectangles. place right sides together and cut from top left to bottom right corner forming 8 triangles. (I have the wrong sticker on this fabric in the picture)

6B cut 8 of template B

Place Fabric #5 on Corner foundation on the E1 space

E1 space on corner foundation

Place fabric #1 on Centre foundations

Line up Fabric 6a on corner foundations

Line up fabric #2 with #1 that has already been glued in place on centre foundation papers. make sure you have 1/4 " of fabric sticking past the sewing line. Sew on the line and press open.

adding Fabric #4

Adding Fabric #3


Adding the Last 6b fabric to centre foundation

centre foundation sewing compleat

trim centre foundations even with solid line on foundation.

Finished and trimmed corner foundation

lay out block and sew together. Press

Tuesday 28 January 2014

stitch it central block #10

 cut out 4 background fabrics using the A template making sure fabric and templates are right sides up
 cut out star pieces using templates C and D layer fabrics right sides up and cut all four pieces at once you need one piece of each colour from each of the C and D templates 
 pin or glue A background to the back side of your paper piecing paper making sure you have a 1/4" seam allowance along the fold

 
 make sure fabric has the wrong side attached to the wrong side of the paper
 sew small star triangle to background piece along sewing line on the paper, press.
 trim seam to 1/4 " from fold
 line up next piece of background fabric with trimmed edge and sew on the line
 press

 trim fabric 1/4" from fold


procede in the same manner with the other three foundation papers and lay out block place long star points in the proper place and sew them onto the foundation as described above.
 one of the quarter foundations
 trim fabric even with the dotted line on your foundation
 remove paper and lay out block
 sew block quarters together
sew block together

Wednesday 4 December 2013

Stitch it Central Block of the Month #3

 Cut fabrics out as listed in your pattern.
 sew corner squares into sets of two, and small #3 and #5a triangles together as shown
 sew triangles together
 sew blocks together into rows press for least bulk.
sew together and, press rows inward to centre
the finished bock with numbers showing fabric placement.

Wednesday 4 September 2013

trunk show

I did a trunk show in Vitoria yesterday. The group I was presenting to was quite a bit larger than I had anticipated so I had a few butterfly's in my stomach, but the presentation went well I think. At the break when I was selling my patterns someone mentioned that Sue Patten who designed "Alexis' Winter Garden" for Frond design studios was in the audience and was interested in what I had done with some of her fabrics.
 
It was great to meet Sue and get a picture taken together with the quilt I designed.

Friday 30 August 2013

Classes I will be teaching

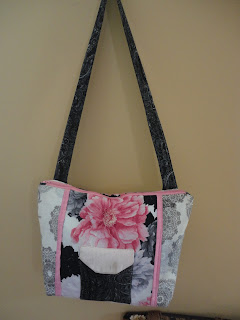
 This is the small Lindy bag I will be teaching a class on the large lindy bag at Stitch it Central in Ingersoll in September. They are having an open house Sept. 6, 7, and 8 and I will be there showing my patterns and the classes I will be teaching.
this is my Snail star pattern I will be teaching a class on this as well there is an option to make it longer so it can be used as a table runner

this is the large lindy bag its big enough to hold a laptop but stylish enough to carry anywhere. I use my pink one all the time.